Project Car
Personally, I love the 1966 Skylark GS. I've had one for ten years with only about a month of driving time in it. After purchasing the car, a phenomenal noise was coming from behind the engine. At that time, I thought it was the throwout bearing or something easy to fix. It turned out to be due to the fact that the transmission was completely dry. Not a little bit, but bone dry. The only thing salvageable from the M-20 Muncie was the casing. That day I made the decision that has haunted me for the past ten years...to restore "Granny". The process has been slow and only I can appreciate the small improvements. I'm certain that many of you appreciate the process of literally becoming a part of your car, so here's my story.
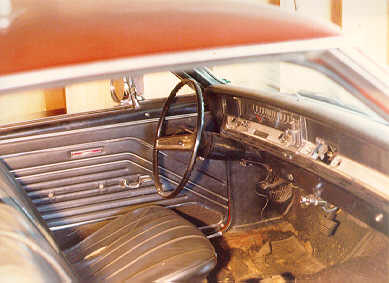
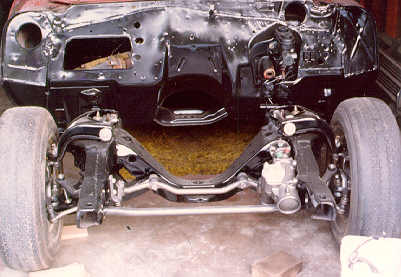
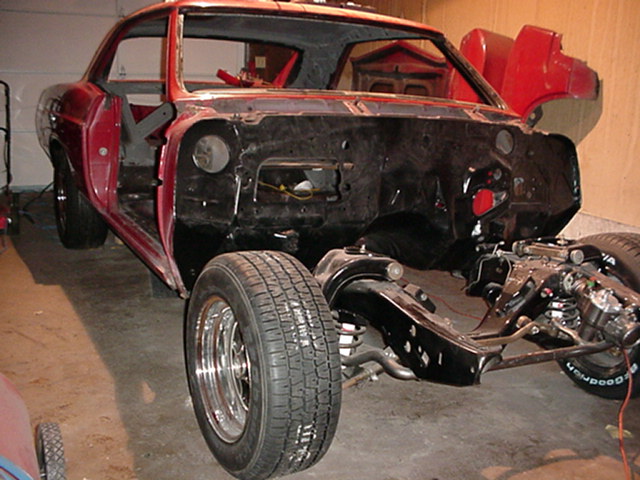
The car was in OK shape. A ratty interior, a body with no major deformities, and a million mile 401 nailhead whose valve-train was louder than the radio - if there was one installed. Not a bolt was turned until I had a guide to restoration basics and the how-to's of this car. A frame-off ensued with the frame being blasted and painted gloss black acrylic enamel. I picked up a Ford nine-inch (31 spline axles/4.11 ratio/nodular third member/Auburn limited slip/ adjustable upper control arm mounts and solid one piece adjustable upper arms) from Peyton Engineering and a Willwood disc brake kit for the rear. Willwood front kit from Morrison A&M. Multiple front end pieces and both sway bars from Performance Suspension Technology. Year One supplied the springs, body mounts, trunk panels (rusted at the body mount), and other suspension/steering components. The wheels are now Buick Rally 15x8's (from Coker Tire) with BF Goodwrench TA's (255/60's in the rear and 225/60's in the front). The 225's up front rub slightly on full deflection of the steering box (I think the quick ratio box from Year One has the bump stops taken out). The frame is back under the body with a bare interior now - note to others who will go the amateur restoration route - "It is easier to route the one-piece fuel and brake lines BEFORE putting the body back on the frame, otherwise it will take five friends, two large pizzas and a few 12 packs to pull the body off... and then back on once they are routed". I went with a 1/2" feed line and a 3/8" inch return fuel line. The brake lines are a full 3/16" front to back (recommended by manufacturer for the aftermarket brakes).
The heads were sent off to Jim Burek at PAE for a full order of "The Works". I recommend him. After collecting many parts and pieces - the engine is finally at the machinist. The assemblly should be complete by late fall 01'. In the meantime - it's interior time! The interior is gutted and being "rust-proofed" in all those hard to reach places under the dash and behind the A-pillar - not to mention under the rear decklid too! Then it all comes down to trying to remember what goes where... Should be interesting...Long live the nailhead!! UPDATE 12/25/05 The car has been parted out....so sad !